Getting burnt or stuck-on food on your pizza stone can feel frustrating. Luckily, cleaning it isn’t complicated, and with the right steps, you can keep it in great shape for your next pizza.
By following a simple process of cooling, scraping, and occasional deep cleaning, your stone will stay ready for perfectly crispy crusts.
Keep reading for the full step-by-step guide.
Let the Pizza Stone Cool Completely Before Cleaning
Let the pizza stone cool completely before cleaning. This typically takes 2 to 3 hours if left inside a turned-off oven, and overnight is even safer. Allowing the stone to cool gradually reduces the risk of cracking caused by thermal shock. You can also transfer it to a wire rack to promote airflow underneath, but always use oven mitts for safety. Never test the temperature by touch, as retained heat can persist longer than you expect. Avoid rinsing or soaking the stone until it reaches room temperature, since trapped moisture can cause it to fracture during the next bake. Let gravity do the work by waiting patiently—it’s your safest method. For additional guidance, review top countertop ice makers for their cooling recommendations. For outdoor cooking setups, choosing gas grill combos can offer versatile heat sources that require similarly careful cooldown procedures. Proper stone care helps maintain even heat distribution, much like the performance of replacement burner tubes in a grill.
Scrape Burnt-On Bits Off Your Pizza Stone
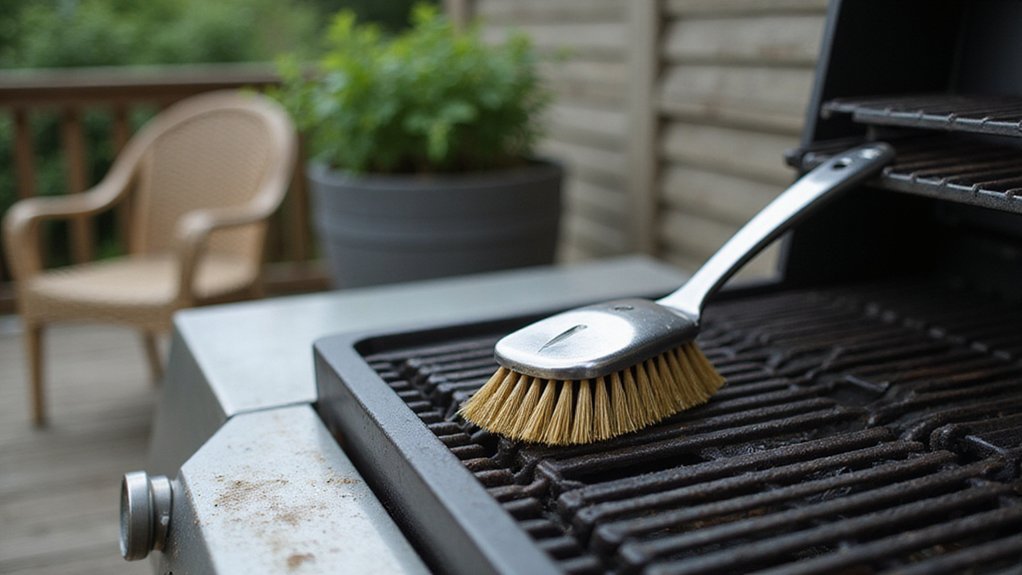
Once the stone has cooled completely, begin by scraping off large burnt-on bits using a bench scraper, metal spatula, or pizza stone scraper. These flat, sturdy tools are most effective for lifting crusted debris without the need for water or harsh scrubbing. You can also try a ceramic hob scraper, applying light pressure to avoid damaging the surface. Alternatively, softer tools like wood, plastic, or silicone scrapers can reduce the risk of scratching. After removing the big chunks, switch to a stiff stone brush or bristle brush. Use small circular motions to lift any remaining charred material. If some bits still cling, repeat the scraping and brushing process before considering water. Keep in mind, persistent spots often loosen after several dry passes, so patience is key. Never soak the stone or use soap, as these can clog the pores and damage the surface. Stick to dry scraping and brushing for a safe, effective cleaning method. To make the job easier, always support the stone on a flat surface like a table while you work. For stubborn residue, you can make a paste of baking soda to gently abrade the stone without chemicals.
Remove Stubborn Stains With Baking Soda or High Heat
To remove stubborn stains from your stone cookware, you have two effective options. First, create a paste by mixing equal parts baking soda and water. Apply this directly onto tomato or grease stains, then gently scrub with a soft cloth. Allow it to sit for about ten minutes before wiping away with a damp cloth, being careful not to soak the stone. Proper moisture control is essential to prevent damage. Afterward, let the stone air-dry completely.
If baking soda doesn’t do the trick, using high heat is another route. For those who own a gas grill with smoker combo, you can also use the high heat from a grill to clean your stone. Preheat your oven to 500°F and place the stone inside for one hour. The high temperature will cause grease bubbles to pop and burn off, turning into ash-like residue. Once the time is up, let the stone cool thoroughly before brushing off any remaining debris. Avoid rapid temperature changes to prevent thermal shock, and be aware that some discoloration may occur—normal and not damaging.
When to Rinse Your Pizza Stone With Water
You should only rinse your pizza stone when it is completely dry. Wait at least one hour after cleaning or baking soda treatment before rinsing with water. Rinsing a hot or warm stone can cause thermal shock and lead to cracking. When rinsing, use water sparingly—just a brief stream to lightly dampen the surface helps remove stubborn residue without saturating the porous material. Never submerge the stone or use soap, as absorbed detergents can ruin the flavor of your future pizzas. After rinsing, dry the stone thoroughly by wiping off surface moisture and then air-drying for at least 24 hours. Trapped water can turn to steam during reheating, risking cracks. Remember, rinsing is a fallback option and should be limited to when dry scraping leaves stubborn residues.
Dry and Store Your Pizza Stone So It Lasts
To ensure your pizza stone lasts, it must be completely dry before storing or reusing. Moisture trapped inside the stone’s pores can warp the crust texture and promote mold growth. Start by wiping it with a clean towel to remove surface water. Then, place it on a wire rack in a well-ventilated area, allowing airflow on all sides. Avoid sealing it in a cabinet while damp, as this traps moisture and prevents proper drying.
For thorough drying, never use a hot oven since rapid heating can cause thermal shock and crack the stone. Instead, let it air dry for at least 24 hours. This slow drying process not only preserves the stone’s integrity but also helps with seasoning, as a dry surface absorbs oils evenly, enhancing non-stick performance. Proper drying also prevents staining; leftover moisture can trap residues and lead to dark spots over time.
When storing your pizza stone, keep it flat, dry, and free of heavy objects on top. Never stack cookware or other items on it, as this can cause cracks or warping. Find a cool, dry spot where it won’t be exposed to humidity or temperature fluctuations. Following these steps will help ensure your pizza stone remains in top condition for years of delicious homemade pizzas.