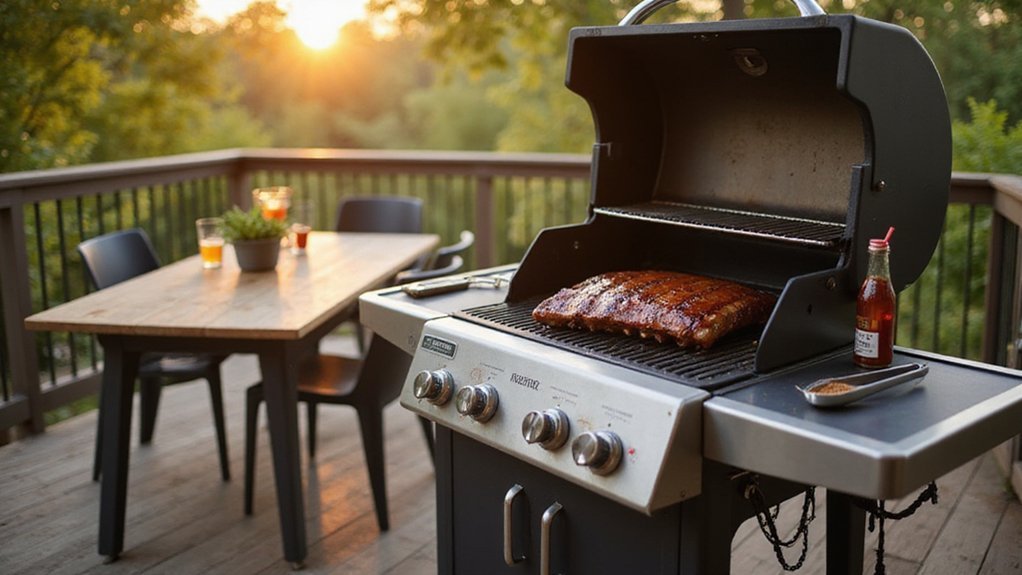
Thinking about smoking beef ribs on a pellet smoker but unsure where to start? The key is maintaining the right temperature and using the right techniques to get tender, flavorful ribs every time.
In this guide, you’ll learn the best temperature range, timing strategies, and tips to keep your ribs moist and delicious.
Keep reading to master the art of smoking beef ribs perfectly.
Why Pellet Smokers Work for Beef Ribs
Pellet smokers work well for beef ribs because of their precise temperature control. You can set a target temperature between 200 and 250°F, and the digital controller maintains it consistently. This stable environment ensures even collagen breakdown, resulting in tender ribs without the need for constant vent adjustments. The set-it-and-forget-it design, including automatic feed systems, allows you to cook long periods without babysitting the fire. Using a 100% pecan shell pellet enhances the smoky flavor absorbed during the cook. Understanding butcher paper’s role in wrapping can further lock in moisture during the stall phase. For extended cooks, a compatible table umbrella can provide necessary shade for your smoker setup. For a consistently cold beverage to enjoy while you cook, a countertop ice maker offers quick production without needing a dedicated water line.
Additionally, pellet smokers burn a cleaner fuel source with less ash than charcoal. While they generally produce milder smoke than offset smokers, you can influence the flavor by choosing different wood pellets. Hickory or oak pellets add strong, smoky notes, while cherry pellets give a sweeter touch. Cooking at low temperatures around 200°F helps maximize smoke absorption, creating a consistent, mild smoke that complements the beef ribs without overpowering them.
Prep and Season Beef Ribs for Maximum Bark
To maximize bark on beef ribs, focus on prepping the surface properly. First, trim away hard fat and silver skin, but leave the membrane intact if you prefer—this won’t affect how your seasoning adheres. Pat the ribs completely dry with paper towels; surface moisture prevents crust formation. For best results, dry-brine with about ½ teaspoon of Morton’s salt per pound of meat, and refrigerate uncovered overnight. This draws out moisture and creates a tacky pellicle that helps lock in flavor and improve crust development. Thicker racks benefit from longer dry-brine times to improve bark quality. For the safest approach to cleaning your smoker after cooking, use non-toxic cleaning products to avoid contaminating future cooks. Selecting quality hardwood pellets with consistent burn characteristics can further enhance the smoke flavor and crust development during the cook. Additionally, following correct handling of your smoker’s temperature zones prevents uneven bark formation.
Apply a heavy coating of a balanced rub that contains salt, sugar, and spices. Press it firmly into the meat rather than just sprinkling it on the surface. Skipping a binder is fine since the tacky pellicle will help the rub stick during cooking. Avoid using marinades or sugary glazes before the crust sets, as they can interfere with the formation of a crisp, flavorful bark. After cooking, let the ribs rest unwrapped for several hours. This allows the crust to fully firm up and enhances the texture and flavor of the bark.
Set Your Smoker for Beef Ribs: Temp, Wood, and Probe
Set your smoker between 225°F and 250°F for optimal beef rib smoking. This temperature range balances good smoke flavor with proper bark development. Use a probe thermometer placed in the thickest part of the meat, avoiding the bone, to monitor doneness accurately. When the ribs reach around 200°F to 205°F and slide in with little resistance, they are probe tender and ready to serve. For a consistent heat source, consider a charcoal gas grill as an alternative to your pellet smoker. For wood choices, strong hardwoods like oak or hickory work best with beef, providing a bold smoke profile. Mesquite adds intensity in small amounts, while cherry can be blended for color and a touch of sweetness. Remember, temperature alone isn’t enough—look for “probe tender” ribs to ensure they are perfectly cooked. Countertop ice makers rely on a refrigeration cycle that rapidly freezes water in small batches, which is similar in principle to your smoker’s heat management. For durability while dining outdoors, look for outdoor dining chairs built with weather-resistant materials.
The 3-2-1 Method: A Smoking Timeline for Beef Ribs
The first phase lasts for 3 hours, during which you smoke the beef ribs unwrapped at a temperature of 225°F to 250°F. This initial stage is crucial for flavor infusion. Smoke penetrates the meat, imparting smoky richness, while the dark bark begins to develop on the surface. Starting with a sufficiently dry rub ensures the bark sets properly, just as proper preparation is essential for a pellet grill turkey. Aim for an internal temperature of about 160°F by the end of this period to ensure the meat is absorbing maximum smoke flavor and starting to tenderize. Keeping the ribs unwrapped allows the bark to form properly and helps establish that deep, flavorful crust. To ensure even heat distribution and a consistent bark, consider using a top pizza stone designed for pellet grills like the Traeger. For those who prefer a different heat source, using a gas grill with smoker can also achieve excellent results with more precise temperature control.
When to Wrap, Spritz, or Sauce Beef Ribs
Wrap the ribs only after the bark is dark and firm, bones show about a quarter inch, and your internal temperature reaches 165–170°F, usually 2 to 3 hours into cooking. This is when the stall begins, and wrapping helps push through it while maintaining moisture. Spritz every couple of hours during the unwrapped phase using cider vinegar or beef broth to add moisture and flavor. A final spritz before wrapping helps lock in juiciness, but avoid overdoing it, or you risk softening the bark. Sauce is best applied late in the process, after the bark has set, and then allowed to tack up without wrapping to develop a good crust. Heavy sauces or marinades should be avoided early on, as they can wash away the crust you’re aiming to build. To ensure the wrapping fully seals in moisture, tightly wrap in butcher paper and return the ribs to the smoker until they reach tenderness. For those who prefer a griddle-style finish, a flat top grill can sear the exterior without drying out the meat. Achieving even heat distribution in your smoker is similar to the radiant heat principles used in a wood-fired oven.
How to Check Beef Rib Doneness
To know when beef ribs are truly done, rely on a combination of temperature and physical tenderness cues. Aim for an internal temperature between 180°F and 195°F, measured by inserting a probe between two ribs, avoiding bone. This temperature range indicates that collagen has broken down, but don’t rely solely on the thermometer.
Next, check tenderness by bouncing the rack near the center with tongs. Look for a visible crack in the surface between the bones; a deep, distinct crack suggests the meat is very tender, while a shallow one indicates more cooking time is needed. Insert a toothpick or skewer into the meaty sections—if it slides in easily with little resistance, the meat is ready. Additionally, test the bones by twisting one; it should begin to loosen or slightly separate from the meat without coming completely out. If it stays tight, keep cooking. Always check different areas of the rack, as doneness can vary across the surface. Trust these physical signs as clear indicators of perfect tenderness rather than solely depending on the thermometer. For those who also enjoy direct heat cooking, top gas grills provide excellent alternatives for high-heat searing. For an even sear, consider a flat top grill which offers consistent heat distribution across its cooking surface. A brick oven can similarly provide consistent, high-heat performance for evenly cooking meats and pizzas.
Rest and Slice Beef Ribs for Maximum Juiciness
Once your beef ribs are perfectly tender, it’s crucial to let them rest before slicing. Resting for at least 30 minutes, and up to 2 hours, allows the juices to redistribute throughout the meat rather than spilling out when cut. If you need to hold them longer, transfer the ribs to a dry cooler lined with towels; they will stay hot for 2 to 4 hours without softening the bark. This resting stage improves the overall tenderness by letting muscle fibers relax and retain moisture, resulting in a juicier bite. Using a smokeless fire pit for your next cookout can keep the outdoor space comfortable while still achieving excellent searing results. When you finally slice, use a sharp knife and cut cleanly between the bones, avoiding aggressive sawing to preserve the bark and structure. For optimal flavor and heat control, consider complementing your setup with infrared gas grills that excel in even searing and performance. Gentle, deliberate cuts ensure each slice remains juicy and flavorful.