Building your own BBQ island might feel daunting, but with the right steps, you can create a functional and stylish outdoor setup. Getting the measurements, framing, and utility lines just right now means fewer headaches later.
By following a structured process, you’ll ensure your island is both durable and easy to use.
Below is the full guide to help you get started and finish strong.
Measure Your Grill and Plan the Perfect BBQ Island Layout
To measure your grill and plan the perfect BBQ island layout, start by noting the dimensions of your grill. A typical grill requires a space approximately 30 to 36 inches deep and around 6 feet long to accommodate cooking and landing space. Allocate at least 12 inches of landing area on each side for prep and workspace, with 24 inches preferred on one side for convenience. Leave a minimum of 4 inches behind the grill to ensure proper clearance and ventilation. For a flat top grill, consider that many top-rated models feature a built-in design requiring additional counter support. Additionally, ensure you select a refillable propane tank that fits securely within your island’s designated storage compartment. Some builders also add a smoker box to their grill setup for infusing rich wood-fired flavor into meats.
In front of the grill, plan for an aisle space of at least 42 to 48 inches to allow comfortable movement and smooth traffic flow. Before building, use tape or cardboard to mock up your layout. This step helps visualize the space and make adjustments to fit your needs perfectly. Proper measurement and planning ensure your BBQ island will be functional, efficient, and enjoyable to cook on. To ensure comfortable movement around the entire island, plan for a walkthrough space of about 3.5 feet, which is the standard clearance needed for easy foot traffic.
Run Gas, Power, and Water Lines Before Framing Starts
Before framing begins, you must run gas, power, and water lines. Start by mapping these utilities on paper, listing exact locations and measurements. Coordinate with licensed contractors to obtain permits and schedule inspections. This initial planning ensures safety, code compliance, and helps avoid costly disruptions later on. Additionally, when choosing appliances, it is wise to consider the production rate and storage capacity of countertop ice makers to ensure they meet your outdoor entertaining needs. For long-term durability, select materials that can withstand weather exposure just like the best chairs for outdoor dining do.
For gas lines, acquire a permit and use properly sized pipes to handle the total BTUs needed. Install shutoff valves at accessible points and perform a pressure test to confirm everything is secure. Your contractor is responsible for ensuring each connection meets local code requirements. When pressure testing, cap all lines to avoid damaging valves or regulators and test at ~10 PSI using a gauge rated for the procedure. Additionally, you can reduce labour costs by following the DIY steps for connecting the grill to the gas line after the contractor completes the primary run.
For electrical wiring, secure a permit for any new outdoor circuits. The 2023 National Electrical Code mandates GFCI protection for all outdoor outlets. Route conduit and install boxes inside the planned island footprint before framing covers them. This keeps wiring protected and accessible for future repairs or upgrades.
For water lines, obtain a plumbing permit for both supply and drain connections for sinks or appliances. Install an accessible shutoff valve at each fixture for safety and repairs. Plan entry points—side, back, or bottom—to prevent framing from blocking service access later. Also, consider winterization needs by insulating supply lines or installing blow-out valves to prevent freezing damage.
Build a Sturdy BBQ Island Frame With Pressure-Treated 2x4s
Start by measuring your grill’s width and depth, then add half an inch to each dimension for the size of the opening. This ensures easy access without tight fits. Set your countertop height at the grill-lid height minus two inches for comfortable cooking and working space.
Cut pressure-treated 2x4s for the bottom plates and vertical studs. Layout the front and back frames with studs spaced at 16 inches on-center, which provides strength and consistency. Include an extra horizontal 2×4 at the back for added rigidity.
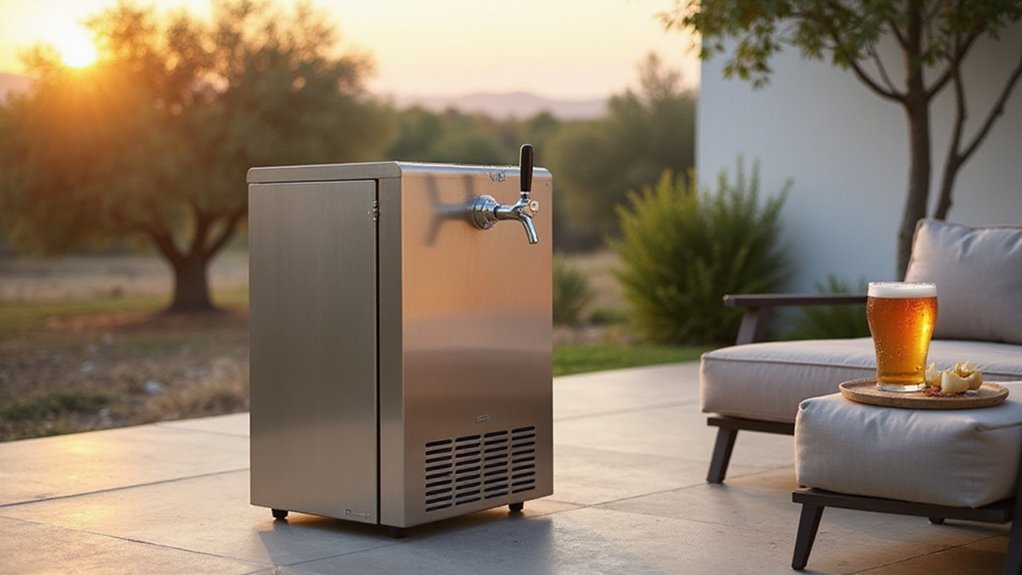
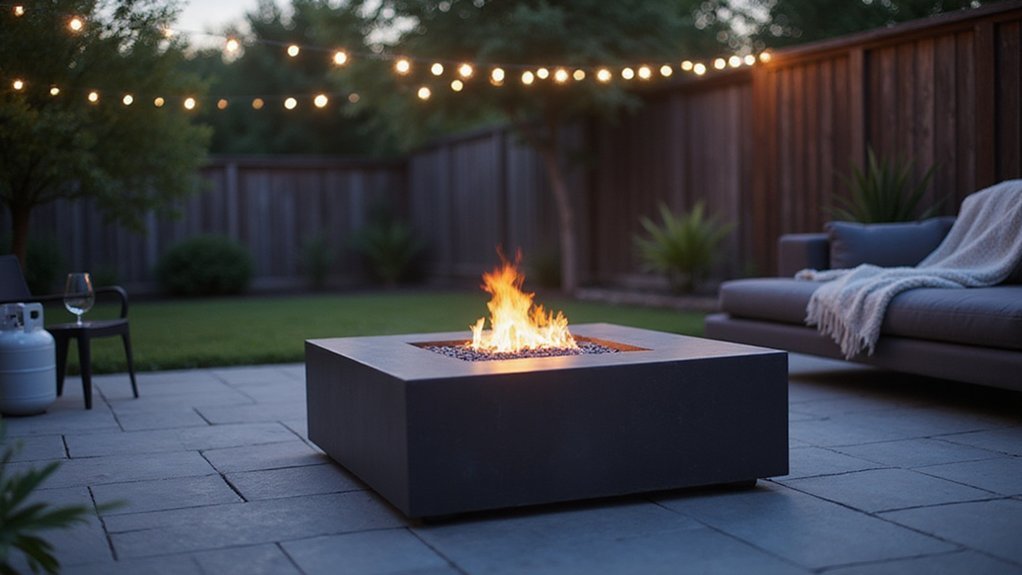
Fasten all components with 2-1/2-inch and 3-inch exterior deck screws to ensure a durable connection. Secure the bottom plate to your concrete slab with 3/8-inch wedge anchors every 24 inches, anchoring the frame firmly to the foundation. Keep the assembly square at each stage to prevent future alignment issues, using a carpenter’s square or a level for accuracy. Before securing the final fasteners, verify appliance dimensions match the framed opening by taking on-site measurements with a tape measure. For a complementary outdoor feature, consider adding glass fire bowls to elevate the aesthetic of your cooking area. If you plan to serve drinks, you can also install a nugget ice maker for fresh, chewable ice that enhances your outdoor entertaining. To serve those beverages, ensure your setup includes a reliable tap system that pairs well with the island’s countertop design.
This step creates a sturdy, load-bearing frame suitable for heavy countertops, concealed storage underneath, and a solid base for decorative trim. Proper measurement, consistent spacing, and solid fastening are key to building a long-lasting, professional-looking BBQ island frame.
Use Metal Studs or Aluminum Tube Framing to Save Weight
Using metal studs or aluminum tube framing can significantly reduce weight when building your BBQ island. Galvanized steel studs, such as 20-gauge, 3-5/8-inch C-channels, are non-combustible and resistant to rot and termites. Aluminum tube framing offers a stiffer structure, with consistent material thickness that resists corrosion, especially in coastal environments. Both options handle roughly 100 pounds per square foot, which exceeds typical residential loads. For those seeking the best performance, top-rated gas grill and smoker combos easily integrate into these lightweight frames. These lighter frames make handling and assembly easier, particularly for large footprints. However, ensure your deck or slab can support the finished weight, as the framing is only part of the load-bearing system. Note that cheap steel studs are made of brittle, low-quality material prone to bending or breaking, compromising durability. If you later plan to install a natural gas grill, remember that using propane on it creates significant safety risks and should be avoided. For a propane-fueled grill, consider using a 20 lb propane tank to ensure a stable and portable fuel supply.
Leave 1/2-Inch Gaps Around Every Appliance for Airflow
Leaving a 1/2-inch gap around every appliance is essential for proper ventilation. This small space helps prevent heat buildup inside the cabinet, allowing built-in grills to radiate heat downward effectively, which maintains consistent burn behavior. Additionally, this gap is often required by the appliance manual to safely dissipate gas vapors in case of a leak. Blocking it can void the warranty and pose risks like damaging plastic gas-line parts or wiring insulation. To maintain these gaps safely, you can also clean lava rocks with mild soap and water to prevent debris from blocking airflow around the burners. For a built-in pizza oven, ensuring adequate airflow is just as critical as it is for a grill to maintain consistent high temperatures. Choosing a brush with stainless steel bristles can help keep the grates clean without contributing to debris that might block these gaps.
To ensure accurate measurement, use the appliance’s published cutout dimensions rather than guessing. Aim for a gap of about 1/2 inch to 1 inch beneath the appliance, but double-check final specifications after delivery since actual units may differ slightly. Avoid sealing the appliance tight; a little airflow allows the grill to “breathe,” promoting safe operation and consistent performance. Remember, the goal is a functional build with proper airflow, not just a flush finish.
Panel Your BBQ Island Sides and Drop the Countertop On
Once your frame is complete, the next step is paneling the sides of your BBQ island and placing the countertop. Start with the corner pieces, as they lock panels together and ensure edges remain flush. Install corner brackets first, then measure the intermediate panels carefully to fit. For exterior faces exposed to outdoor heat and moisture, use stainless steel or composite panels rated for outdoor use. Cement board is suitable as a tile substrate, with screws placed every 8 inches for secure attachment. To save costs, consider installing hidden sides with tongue-and-groove boards, but make sure your cabinet ventilation is not obstructed by the cladding. Always dry-fit all panels before fastening to check fit and alignment. Use construction adhesive designed for metal panels, pulling seams tightly together for a clean look. For the tongue-and-groove boards on hidden sides, apply a protective stain like Foul Sparse to all exposed wood for weather resistance. Before proceeding with any heat-producing appliances, ensure you follow the correct lighting sequence for safety and efficiency. To avoid inaccurate temperature readings from your heat source, use a proper reset procedure on your infrared thermometer after initial setup. For optimal heat retention around any pizza oven insert, consider using high-density refractory bricks for the surrounding structure.
Coordinate your panel color with your countertop now—either matching or choosing a contrasting shade to enhance your design. When dropping the top onto the island, verify that the support is level. Add silicone dabs around the perimeter and at seams to seal against weather and prevent water ingress. For heavy overhangs, install shelf brackets screwed into the frame to provide additional support. Once the countertop is in place, secure it properly but avoid sealing it fully until the entire installation is complete—this will allow for any adjustments and proper sealing later on.
Finish Wood Surfaces With Three Coats of Spar Urethane
Before applying spar urethane, you need to prepare your wood surfaces thoroughly. Start by cleaning the surface to remove dust and debris, then ensure it is completely dry. Sand the wood smoothly using 120-grit sandpaper first, followed by 220-grit for a finer finish. Wipe away all dust with a tack cloth or a damp cloth to create a clean surface that promotes good adhesion. Proper sanding here is crucial—it establishes a strong bond between the wood and the urethane.
Next, focus on selecting the right application tools. Use a high-quality natural bristle brush, which helps achieve a smooth, even coat. Load the brush lightly with urethane to prevent drips and runs. Apply the urethane in thin, even coats, always following the wood grain to minimize brush marks. Avoid over-brushing, as it can trap air bubbles and leave streaks. Allow each coat to dry until it is no longer tacky, typically between 2 to 4 hours. Once dry, lightly sand the surface with 220-grit sandpaper before applying the next coat. Sanding between coats ensures any imperfections are smoothed for a flawless finish. If you wait more than 12 hours between coats, sanding becomes mandatory to ensure proper adhesion for subsequent layers.
Apply a total of three coats of spar urethane for optimal moisture and sun protection. After the final coat, do not sand the surface; simply let it cure for at least 24 hours before light use. This curing period ensures the finish is fully hardened and durable, giving your project a tough, lasting protection.
Level Your BBQ Island and Test Every Appliance First
To level your BBQ island, start by checking the entire footprint with a 4-foot level. This ensures the base is completely flat, which is crucial for proper alignment of cabinets, masonry, and appliance openings. On uneven patios, adjust the stainless steel self-leveling legs by turning the telescopic arms clockwise to raise the corners. Work from the lowest points first to bring the surface into level. Always avoid unscrewing legs from the cabinet base to maintain structural integrity. For a perfectly cooked pizza, the wood fired oven requires a stable, level base to ensure even heat distribution.
Clamp together the cabinet sections and verify their squareness before fastening. Only secure the joints with self-tapping screws once the run sits perfectly level and straight. Before locking anything in place, test-fit each appliance—confirm that the grill and side burner fit into their cutouts without forcing or twisting the frames. Open and close drawers and doors to ensure they operate smoothly, avoiding any binding that could damage hardware.
Check access panels to ensure they remain reachable after installation. Run temporary outdoor lighting to identify any low spots easily, and measure the clearances needed for utility connections. Once you’re satisfied with the levelness and appliance fitment, secure all connections with four screws per joint. Finish up by installing the toe kick, but do not fasten it prematurely, as adjustments later will be more difficult.