Fitting an outdoor kitchen into your space can feel overwhelming, especially when it comes to planning the cabinets and appliances.
The good news is, with some careful measuring and the right materials, you can build a durable, weatherproof setup that lasts.
By the end of this guide, you’ll know how to plan, frame, and assemble your outdoor cabinets step by step.
What to Measure Before You Buy Materials
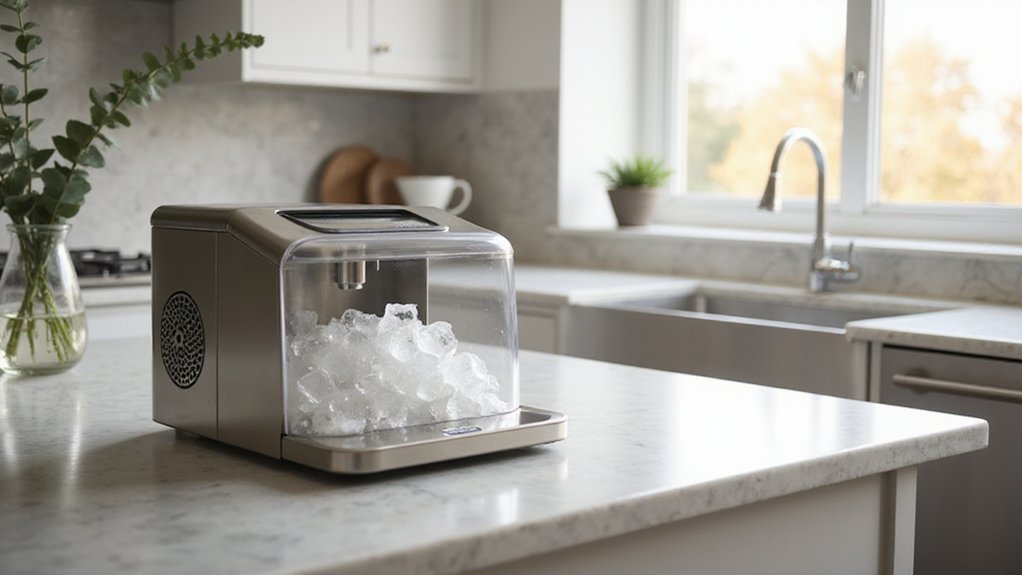
Start by measuring the full room dimensions and each wall from corner to corner in inches for accuracy. Accurate measurements are essential to selecting materials that fit properly. Measure at multiple heights, especially in older homes where walls may not be perfectly straight, and use the smallest measurement to avoid ordering cabinets or panels that won’t fit. Include all walkway spaces around islands, grills, or other features to prevent cramped layouts. Also, measure the floor-to-ceiling height in several spots, noting any soffits or beams that could affect ceiling-mounted fixtures. Record the locations of gas lines, electrical outlets, and sink plumbing because these details influence the placement of appliances and fixtures. Skipping precise measurements can lead to costly mistakes and the need for returns or adjustments later. Compare countertop ice maker dimensions to your available counter space before finalizing appliance placements. For the grill itself, verify the cutout depth and width against your chosen model’s specs, as high-performance gas grills often require extra clearance for heat shields and side burners. Reviewing quality and performance ratings for your grill model can help ensure it meets your cooking needs and fits safely within the measured cutout.
Sketch a Scale Plan for Your Grill and Fridge Openings
To create an accurate scale plan for your grill and fridge openings, start with your room’s exact dimensions on graph paper. Use a specific scale—such as 1 square = 1 foot—to ensure precision. Mark all obstacles like cabinets, doors, steps, and other fixed features to prevent placement conflicts.
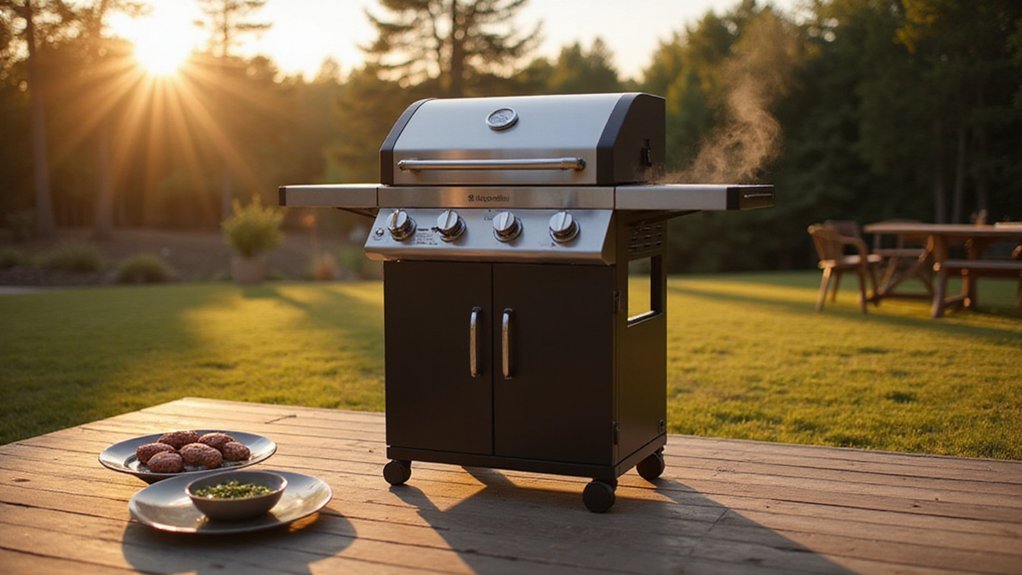
Draw the grill opening based on the appliance’s cutout specifications, not its nominal width. For example, a 32-inch grill typically requires a 30-inch cutout. Include at least 12 inches of landing space on each side for safety and convenience, with 18 to 24 inches on one side designated for prep work. This prep zone helps streamline cooking flow and keeps everything within reach. When selecting your grill, compare the top options to find the right fit for your budget and needs.
For your refrigerator, draw the opening with ventilation needs in mind. Built-in fridges usually need about 24 inches of width but verify your model’s exact dimensions. Place the fridge near prep areas but not directly adjacent to the grill, to support an efficient workflow from cold storage to cooking. Maintain a walk aisle of 42 to 48 inches behind the cook zone to ensure comfortable movement without crowding. Remember, a well-placed opening supports safe, practical use and enhances your outdoor kitchen experience. Unlike butcher paper, parchment paper is nonstick and heat-resistant, making it better for baking or wrapping foods that release juices. You should also consider the quality and performance of your outdoor chaise lounge cushions if adding seating nearby.
Choose Pressure-Treated Lumber for Outdoor Cabinet Frames
Pressure-treated lumber is the best choice for outdoor cabinet frames because it’s engineered to resist moisture, rot, and insects. Its deep preservative infusion ensures protection against humidity and splashing water, making it durable in outdoor conditions. This treatment process involves water-based chemicals like ACQ or CA being forced into the wood cells at the mill. Modern treatments avoid arsenic, but the lumber remains wet, so it’s essential to let it dry thoroughly before assembly or finishing. For most outdoor cabinet frames, use above-ground rated lumber. If your frame will sit on a slab or in damp conditions, opt for ground-contact grade to ensure maximum durability. Always choose fasteners compatible with treated wood, as the preservatives can corrode standard steel, which could compromise the frame’s integrity over time. You should also consider the cleaning frequency of nearby appliances to prevent mold and bacteria buildup from affecting the wood. For complementary outdoor protection, consider top outdoor umbrellas for your table to shield the cabinet area from direct sun and rain. When building the frame, verify its dimensions align with the heat output and spacing of your gas grill and smoker combos to avoid warping or fire hazards.
Build a Level Frame That Won’t Rot
To build a level, non-rotting outdoor kitchen frame, start by checking the level in both directions before securing any components. If your slab slopes, shim the low side with composite shims, as they won’t absorb moisture like wood scraps. Use moisture-resistant supports at every base point, and ensure each foot bears weight firmly to prevent settling over time.
Keep the frame square by applying temporary bracing while fastening components. Secure everything with weatherproof fasteners, such as deck screws, only after confirming the frame is level and stable. When setting the height, account for the countertop thickness, and double-check load-bearing spots around grill openings to ensure they can support the weight.
Moisture-resistant supports reduce the risk of rot where wood contacts concrete. A level, rot-resistant base helps maintain door alignment and prevents shifting throughout the years. This careful leveling approach accommodates a slope designed for water drainage toward drains and edges, ensuring the frame remains functional despite an uneven concrete floor. Build this frame carefully now to ensure it stays true and durable for the long haul.
Plan Gas, Power, and Drainage Before Closing the Walls
Mapping every gas, power, and drainage line before closing the walls is essential. Make sure each rough-in lands inside future access openings. Use a scale drawing to define a utility zone where conduits emerge, keeping connection points straightforward for future work. Gas lines should be black iron pipe or CSST, sized according to total BTUs, with a dedicated shutoff valve inside this zone. Connecting your grill to this line requires a proper quick-disconnect fitting and a flexible hose rated for outdoor use, ensuring a safe seal. Electrical wiring must run in conduit buried as per code, positioned away from plumbing lines to prevent interference. Your sink needs both cold water supply and a shutoff valve, along with a drain sloped at 1/4 inch per foot to ensure proper flow. Confirm local wastewater disposal regulations—never dump wastewater on the ground. It’s crucial to verify existing gas capacities with a professional, especially if you plan to use multiple appliances simultaneously. You should also consider whether a vertical smoker better suits your cooking needs than a pellet grill, as each offers distinct pros and cons for outdoor kitchen layouts. Check your local building codes before starting to ensure your wall framing clearance and material choices comply. Keep all entry points accessible for inspection and future upgrades by planning now. You won’t want to reopen finished walls later to access these lines. For those who choose a pellet smoker, understanding how long to smoke a turkey depends on consistent temperature control and bird weight, which affects your overall cooking timeline.
Plywood or Cement Board: Best Sheathing for Outdoor Cabinets
Plywood is the best sheathing choice for outdoor kitchen cabinets because it offers the necessary structural support to hold up countertops and resist deflection. It provides superior fastener compatibility, allowing screws to hold securely for cabinet joints and hardware. Plywood also machines cleanly without dulling blades, unlike cement board, which tends to crumble and dull cutting tools. Always apply proper weatherproof sealing on all plywood edges and surfaces to prevent moisture from penetrating. Exterior-rated plywood resists rot but still requires protection from moisture exposure. For wrapping brisket, premium butcher paper choices offer similar moisture management and structural integrity for the cooking process.
Cement board is not suitable as a structural sheathing material. Although it won’t rot, water can pass through it, making it inadequate for supporting the weight of countertops or hardware. It is best used solely as a nonstructural tile backing placed over a solid plywood base. For painted or non-tile finishes, 3/4-inch plywood is preferred for its rigidity. Reserve cement board strictly for tile installations on top of a sturdy plywood substrate.
Install Countertops, Doors, and Drawers
For doors and drawers, opt for aluminum or stainless steel hardware to ensure durability. Use hinges secured with exterior-rated screws to withstand weather exposure. Make sure your drawer slides are stainless steel as well, since they resist corrosion over time. Additionally, seal any exposed underside areas near cutouts to prevent moisture from seeping in and causing damage. Proper sealing and high-quality hardware help maintain the integrity and longevity of your installation.
Level and Secure the Finished Outdoor Kitchen Cabinet
Verify that your supporting surface is both stable and level before installing any cabinets. This is crucial because an uneven ground or slope can cause the entire outdoor kitchen build to be misaligned. Start by checking the site’s highest point to ensure proper leveling. For a built-in grill, selecting a model with adjustable leveling feet is equally important to maintain a flush cooking surface as the cabinets settle. To ensure a reliable gas supply, it is wise to choose a refill-friendly gas tank designed for easy swapping and secure connections. For outdoor entertaining, a nugget ice maker provides a premium, chewable ice that guests love.
Use a 6-foot or longer level to measure front-to-back, side-to-side, and corner-to-corner. Adjust self-leveling legs or insert snug-fitting shims into gaps until each cabinet is plumb, level, and sitting securely. Keep the toe-kick height consistent, with a minimum of 4.5 inches, to ensure uniformity and proper alignment. Outdoor surfaces are intentionally sloped for drainage, so a cabinet system with built-in leveling legs rather than shims is recommended for reliable adjustments.
Secure the cabinets together by clamping adjacent units to keep faces aligned. Drive #8 by 3/4 inch self-tapping screws through pre-designed connection points, using four screws per joint for stability. For island cabinets, attach toe-kick subpanels to the 2×4 floor supports. After tightening the screws, double-check the entire run to account for shifts caused by the fasteners. Once all cabinets are level, plumb, and square, you can proceed to reinstall doors and drawers.
Troubleshoot Common Outdoor Cabinet Problems
To troubleshoot common outdoor cabinet problems, start by inspecting for signs of moisture intrusion. Swelling, warping, or rust indicates water has seeped in, so consider switching to 304-grade stainless steel or PVC to improve weather resistance. Ensure that your cabinets have two vents for gas appliances to prevent dangerous pressure buildup and possible leaks. Position your outdoor-rated hood 24 to 30 inches above the grill, extending at least 6 inches beyond each side for proper ventilation and safety. Cross ventilation is critical to promote safety by allowing gases and air to escape efficiently. For optimal grill performance, using high-quality propane ensures even heat distribution and fewer flare-ups. For top-notch cooking results, consider pairing your setup with a reliable pellet grill for consistent temperature control and flavor. To keep your kegerator tap clean, use a mild cleaning solution and a soft brush to lift baked-on grease without damaging the finish.
For pest prevention, seal every gap, joint, and vent opening to keep ants and rodents out. Clean your cabinets with soap and water, avoiding high-pressure washers that can damage finishes. Adding service hatches provides easy access to plumbing and utilities without ripping apart the cabinetry. If your layout feels cramped, evaluate and reorganize storage and counter space to avoid future problems and maintain functionality.