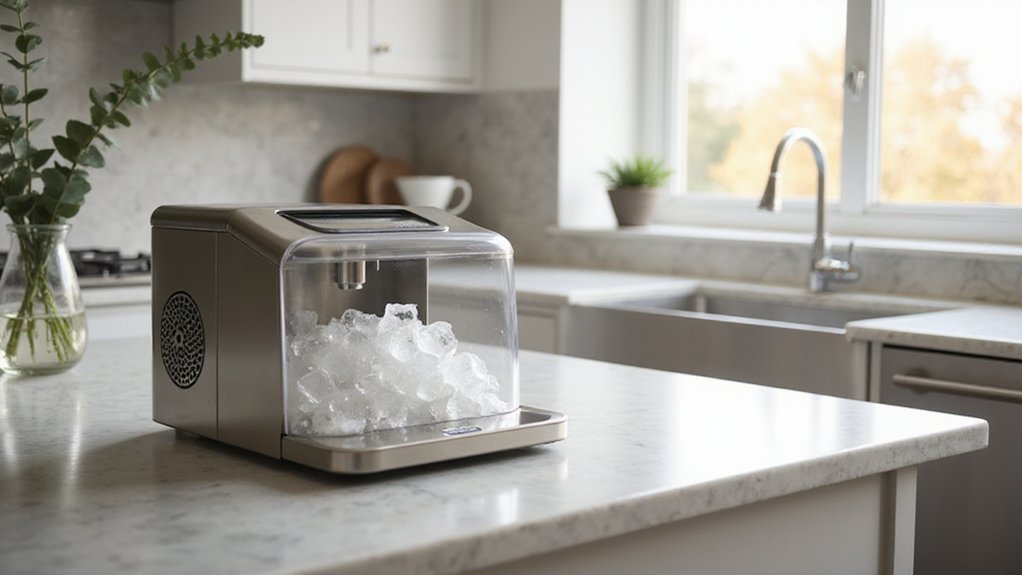
If your Frigidaire countertop ice maker isn’t producing clean, fresh ice, a thorough cleaning might be just what it needs.
Regular upkeep helps prevent mold, odors, and mineral buildup that can affect the quality of your ice.
By following a simple step-by-step process, you can keep your machine running smoothly and produce the best ice possible.
Keep reading for everything you need to know about cleaning your ice maker effectively.
What You’ll Need to Clean Your Frigidaire Ice Maker
To clean your Frigidaire ice maker effectively, gather these supplies: distilled white vinegar, a microfiber cloth or soft-bristled brush, mild dish soap, a clean towel, optional food-safe sanitizer, and a bucket or sink. Use distilled white vinegar in a 1:1 ratio with warm water to create a strong descaling solution that removes mineral buildup and disinfects. A microfiber cloth or soft-bristled brush helps clean without scratching sensitive surfaces. Wash removable parts like the ice basket and scoop with mild dish soap in the sink, then rinse thoroughly to eliminate any soap residue. Use a clean towel to dry all components, which helps prevent water spots and lingering moisture. For extra sanitation, prepare a food-safe sanitizer by mixing one tablespoon of bleach in a gallon of water—this kills bacteria more thoroughly but should be used carefully. Avoid abrasive scrubbers, harsh chemicals, and undiluted bleach, as these can damage your ice maker or alter the flavor of your ice. Before filling the reservoir, check the maximum fill line to avoid overflow during the cleaning cycle. Finally, have a bucket or sink ready to drain used liquids safely. To maintain optimal performance, professional guidelines recommend cleaning every six months for ice machines, though units in high-traffic areas may require more frequent attention. Using these supplies ensures a thorough, safe clean that keeps your ice maker running smoothly. To guide your choice of cleaning frequency, consider reviewing top countertop ice makers that offer easy maintenance features. When scrubbing hard-to-reach areas, a soft-bristled brush is ideal for preventing scratches while removing stubborn residue.
Step 1: Power Down and Drain Your Frigidaire Ice Maker
Power down and drain your Frigidaire ice maker before cleaning. Start by turning off the unit completely using the ON/OFF control to stop the ice-making cycle. Unplug it from the wall to ensure no water moves during the draining process. Remove the ice basket and empty any remaining ice to prevent meltwater from mixing with clean water later. Also, remove ice cubes from the ice basket before cleaning to avoid contamination during the process.
Locate the drain plug at the bottom of the unit. Move the machine slightly to access it more easily, then open the drain plug to allow all residual water in the reservoir to escape. Let the unit sit for a moment to ensure it drains fully. Carefully check the drain area for any debris, just as you would inspect a gas supply line for blockages before connecting a grill. Ensure the infrared sensor is kept free of moisture, as a clean lens ensures accurate temperature readings during setup. For a similar level of precision, outdoor pizza ovens often use high-quality heating elements to ensure even cooking temperatures. Draining the unit completely prevents leftover water from interfering with the cleaning process or affecting the water quality during the next use. When the reservoir is dry, you’re ready to proceed to the next cleaning step.
Step 2: Mix a Vinegar-and-Water Cleaning Solution
To prepare your vinegar-and-water cleaning solution, mix one part distilled white vinegar with one part warm water for a stronger 50/50 blend that effectively tackles heavy scale and mineral buildup. For routine maintenance, a gentler 1:10 ratio—one part vinegar to ten parts water—is sufficient. Both ratios are food-safe because vinegar’s acidity dissolves mineral deposits without harsh chemicals. Thoroughly stir your chosen mixture in a bowl or spray bottle before pouring it into the reservoir, making sure not to exceed the MAX fill line. Use warm water to facilitate easier rinsing later. Avoid using undiluted vinegar, as it can damage seals. At this stage, you are only preparing the solution; hold off on scrubbing until the next step. For a safer alternative, consider cleaning products that avoid vinegar altogether. Similarly, always check airflow in your grill to avoid ignition issues. Just as you would properly prepare the surface on a pizza peel to prevent dough from sticking, ensuring your ice maker’s reservoir is clean helps prevent mineral deposits from affecting performance.
Step 3: Scrub Frigidaire Ice Maker Interior Surfaces
Unplug the unit and remove the ice basket before cleaning the interior. Drain any standing water through the bottom drain plug, then wipe the interior with a dry cloth to remove loose debris. Dip a soft cloth or sponge into a vinegar-and-water solution and scrub the walls, corners, and water reservoir to eliminate grime and mineral scale. Pay special attention to the evaporator fingers and metal prongs where ice buildup often occurs. Use a toothbrush to reach tight seams and crevices. For stubborn deposits, place a vinegar-soaked cloth on the spot for five minutes before wiping away. Focus on visible stains and scale but avoid applying too much force to prevent damaging internal parts. Finish by wiping everything with a clean, damp cloth to remove residue, then dry thoroughly with a fresh cloth. For a durable and stylish exterior placement after cleaning, consider options like an aluminum dining table as featured in top outdoor furniture reviews.
Step 4: Run the Cleaning Cycle Without Skipping Steps
Running the cleaning cycle without skipping steps is essential for thorough internal descaling. Fill the reservoir with your chosen cleaning solution, ensuring it stays below the MAX line. Common choices include a 1:10 vinegar-to-water mixture, although some guides recommend a stronger concentration. Alternatively, you can use Frigidaire-approved cleaner for effective descaling. The self-cleaning process helps prevent mineral buildup such as calcium and lime scale. When choosing between cleaning tools, a perforated pizza peel offers better drainage for food preparation, though it is not directly related to cleaning. For beginners learning to maintain appliances, it helps to approach the process with careful handling similar to mastering butcher paper setup. Just as with smoke, butcher paper is porous and can allow odors to pass through, so sealing leftover cleaning solution tightly is recommended.
Press and hold the Clean button for about 3 to 5 seconds to start the cycle. The indicator light will flash as the machine pumps the cleaning solution through its internal lines, dissolving mineral scale and buildup. The cycle typically lasts between 15 and 45 minutes, depending on your model—avoid interrupting it to ensure proper cleaning.
If the cycle doesn’t begin, verify that you are pressing the correct button for the right duration according to your manual. Always confirm that the machine is in the proper mode before starting the cycle. Allow the cycle to run completely without interruption, then drain the reservoir once finished.
Step 5: Drain and Rinse the Frigidaire Ice Maker
After the cleaning cycle ends, turn off and unplug your ice maker. Locate the drain plug at the bottom of the unit. Place the appliance near a sink or position a bowl underneath the drain. Open the plug completely to allow all remaining water, including any cleaning solution, to drain out. It’s important not to skip this step, as leftover residue can interfere with ice production and may compromise water safety. The drain plug is a rubber piece that presses straight in and pulls out, so ensure it is fully removed for complete drainage.
Once drained, refill the reservoir with fresh water and run a short cycle to rinse out any vinegar taste or cleaning solution. After the cycle, drain this rinse water the same way, making sure to reseal the plug securely. Before moving on, confirm the reservoir is fully dry and free of any residual drips. Proper rinsing and thorough drying are essential for producing clean, good-tasting ice.
Step 6: Dry Everything, Reassemble, and Wipe Down the Exterior
After draining and rinsing the reservoir, dry the interior thoroughly. Remove all moisture from the reservoir, bin, and tray by tipping and wiping them with a clean, soft cloth. Allow these parts to air-dry completely—fanning the unit can speed up the process. Failing to dry all components can lead to mold and mineral buildup, so take your time with this step. Once everything is dry, reassemble the ice maker accessories, including the basket, trays, and hose filter. Ensure the drain cap is securely fastened and that all parts sit snugly to prevent leaks.
Next, wipe down the exterior surfaces with a damp cloth and a touch of mild soap. Pay special attention to seams and the control panel, then dry thoroughly to avoid streaks. After reassembling, refill the reservoir with fresh water and restart the unit. Regular cleaning and drying practices help prevent buildup, ensuring your ice maker continues to run smoothly and efficiently. This careful drying process mirrors the importance of preventing mineral buildup on cast iron grill grates by removing all moisture after cleaning. For those who also enjoy outdoor cooking, understanding how gas grill performance can be maintained with regular upkeep is equally valuable. Just as with an ice maker, the type of fuel you use for outdoor heating, such as natural gas vs propane, impacts both efficiency and long-term maintenance needs.
How Often Should You Clean Your Frigidaire Countertop Ice Maker?
You should clean your Frigidaire countertop ice maker every 3 to 6 months under normal use. However, if you operate the machine daily or use hard water, you’ll need to clean it more frequently—about once a month. Signs that indicate it’s time to clean include reduced ice production, strange odors, or visible mineral buildup inside the unit. Hard water speeds up scale formation, so relying solely on a fixed schedule isn’t enough. Always check your owner’s manual for your specific model’s recommended intervals since they can vary. If the ice tastes off or the output drops before your scheduled cleaning, it’s best to clean the machine immediately. Maintaining a proactive cleaning schedule helps prevent mineral buildup, ensures fresh-tasting ice, and keeps your machine running efficiently. Adjust your cleaning frequency based on how often you use the ice maker and the water quality in your area. For comparison, a top charcoal gas grill requires similar consistent maintenance to ensure peak performance and longevity.
How to Remove Stubborn Vinegar Taste After Cleaning
A residual vinegar taste after cleaning usually indicates you didn’t complete the rinse step thoroughly. Start by draining the reservoir completely to remove any remaining vinegar and cleaning agents because studies show improper cleaning causes 30% of ice failures, underscoring how rinsing thoroughly prevents this issue. Refill it with plain water and run at least two to three full rinse cycles through the machine to flush out the residual vinegar. Wiping all interior surfaces with a dry cloth helps remove any lingering vapor or moisture that could contribute to odors. Using high-quality components like glass picks in your cleaning kit can improve durability and performance when scrubbing hard-to-reach areas. Leave the lid open during drying to allow complete air circulation, which is essential for odor elimination. If the vinegar taste persists, run one or two ice-making cycles with fresh water and discard the ice afterward. Check for missed drain plugs or hoses that could trap solution, as these spots can hold onto residual vinegar. Continue this process until both the ice and reservoir water are odor-free, ensuring no vinegar taste remains. For future cleaning, opt for gentler descalers like citric acid, which leave fewer residues and reduce the chance of persistent flavors.
Fix Common Frigidaire Ice Maker Cleaning Mistakes
Cleaning while your ice maker is powered on or submerging it can cause damage to internal components. Always unplug the unit before cleaning. Use only mild detergent or vinegar—avoid bleach or harsh chemicals, which can harm the machine’s parts. Drain water through the bottom plug rather than tipping the unit into a sink to prevent internal damage.
Frequency is key: cleaning too infrequently lets residue build up, affecting ice quality and machine performance. However, cleaning too often with aggressive methods can wear out soft parts like gaskets and seals. After cleaning, make sure to dry all interior surfaces thoroughly to prevent mold and unpleasant odors. It’s essential to clean every part of the water pathway—including the bin, basket, scoop, and reservoir—to ensure no residues or mold develop. Running a flush cycle helps reach internal lines, and always drain residual water before restarting the machine. Gentle, regular cleaning helps maintain optimal performance over time.