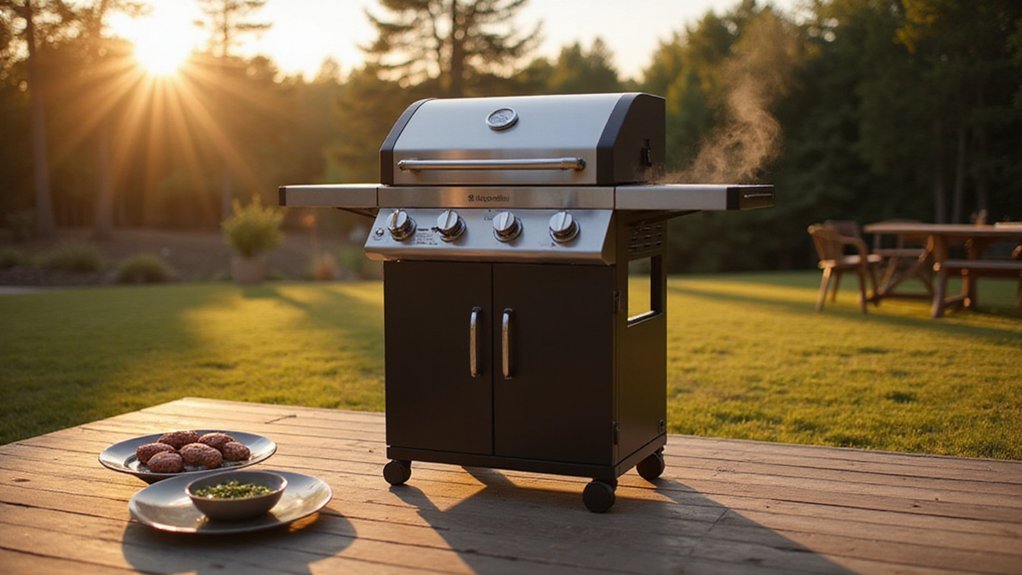
If you’ve ever wondered how to safely swap out a propane tank on your gas grill, you’re not alone. Doing it right is crucial to prevent leaks and accidents.
But the process can seem tricky if you’re not sure what tools or steps to follow.
By the end of this guide, you’ll know exactly how to change your tank safely and confidently.
Gather Tools and Propane Tank Safety Gear
Gather your safety gear and tools before you start to prevent delays and ensure safety. You will need safety goggles, work gloves, closed-toe shoes, and close-fitting clothing to protect against sparks and debris. Additionally, have dish soap, water, a clean cloth, and scissors or wire cutters ready for removing plastic caps from the propane tank. Always handle the tank outdoors to avoid propane buildup and reduce fire risk. Know your grill’s shutoff location in case of an emergency, and keep a fire extinguisher nearby for quick access. For owners of a gas grill and smoker combo, ensuring proper performance and safety during a tank change is just as important as selecting the right unit for perfect barbecues. If you decide to switch to a different fuel source, the process requires additional conversion equipment like a new regulator and hose. While the propane system is separate, remember that countertop ice makers often also require careful hose and connection checks for safe operation.
Check the tank’s labeling for certification dates to confirm it’s safe to use, and look for signs of damage such as dents or rust. Inspect the threads on the tank for dirt or debris, as contaminants can break the seal and cause leaks. Before connecting a new tank, make sure its valve is fully closed, and always confirm the connection is properly secured before testing for leaks. These steps help prevent leaks and ensure a safe tank swap. Using your safety gear and performing thorough inspections makes the process faster, safer, and less stressful.
Close the Valve and Remove the Old Propane Tank
First, close the valve fully and wait a moment. Never disconnect the grill hose while the gas is still flowing. To ensure safety, turn on the grill burners and let them burn off any residual gas until the flames go out. Turn the shutoff valve clockwise or to the right to stop the flow of propane before proceeding.
Before removing the tank, perform a visual inspection for leaks or gas odors. If you detect any smell of gas or suspect a leak, evacuate the area immediately and remove all ignition sources. Only proceed once you are certain it is safe. Wear gloves and safety glasses during the process. After disconnecting the hose, you can then safely remove the old propane tank.
Swap in the New Propane Tank Without Errors
To swap in a new propane tank without errors, follow these steps carefully. First, ensure the replacement cylinder matches your grill’s regulator and connection size; compatibility is essential for safety. Confirm the tank valve is fully closed before removing the plastic dust cap. Inspect the tank for visible damage or dents, as this is critical for safe operation and regulatory compliance. Use appropriate lifting techniques to handle the tank safely.
Place the tank upright in the designated area, aligning the valve with the connector hose. Do not force the connection—start tightening the regulator by hand, turning clockwise until it feels snug. Over-tightening can cause issues with future disconnections or leaks. Keep the grill lid open and make sure the burner controls are turned off prior to connecting. Also, always perform a safety check before first use to confirm the seal is secure. Always keep the propane tank away from high heat sources to prevent accidental combustion. For those considering alternative grilling methods, a pellet grill offers a different fuel source that avoids propane entirely.
When opening the valve, do so slowly in a counterclockwise direction, listening for any hissing sounds, which indicate a poor seal. Never connect or disconnect the tank with the valve open or if the connection feels stubborn. If you encounter resistance or leaks, stop and inspect the connection carefully. Properly installed, the tank will be secure and sealed, ensuring safe and smooth operation.
Leak Test Every Connection With Soapy Water
To confirm your propane system is airtight after a swap, perform a soapy water leak test. First, prepare a soap solution by mixing equal parts dish soap and water. The thicker the solution, the more stable the bubbles, which helps in detecting leaks more reliably. Apply the soapy mixture generously to all connection points, including the tank valve, regulator interface, hose ends, and any brass fittings, using a spray bottle or brush. Similar to how pellet selection impacts smoke flavor on a pellet grill, the quality of your soap solution can affect leak detection reliability. For outdoor dining areas near the grill, ensure your setup follows the same durable construction standards found in premium outdoor furniture. When shopping for a replacement or backup unit, a top-rated model often combines charcoal grill quality with dependable gas ignition for versatile cooking.
Next, with the cylinder valve open and all appliance knobs turned off, watch for the formation of bubbles. Pay attention to any bubbles that grow or reappear over time, as these indicate escaping gas. A steady, bubble-free soap coating signifies a proper seal. If you notice bubbles, immediately turn off the tank and tighten the fitting before retesting. This leak test should be part of your routine every time you swap cylinders to ensure safe operation. Even small leaks can still ignite under appropriate conditions, so small leaks require prompt detection and action.
Smell Gas? Stop, Retighten, and Retest
Once the area is safe, retighten the connection if the smell was brief. This often resolves a loose seal or thread issue. After tightening, open the valve slowly from a safe distance and carefully monitor for any odor. If the smell returns or you hear hissing sounds, do not use the grill again. Instead, contact a propane retailer or technician for inspection. For a secure setup, ensure you are using a best pizza peel that provides a reliable grip and control when handling the connection. A faint smell that diminishes quickly might simply be residual odorant concentration and not an active leak. However, if you have any doubts, it’s always safest to escalate the situation. Never attempt to relight the grill near a suspected gas leak.
Store and Transport Your Propane Tank Safely
Store and transport your propane tank safely, keep the cylinder outdoors in a well-ventilated area—never inside homes, garages, or sheds. Position it upright at least 10 feet away from ignition sources, heat, and direct sunlight. Avoid damp spots to prevent corrosion.
When moving the tank, follow strict transportation precautions. Always transport it upright; never lay it on its side. Secure the tank in your trunk or truck bed with straps to prevent tipping or rolling. Keep the valves closed and protected from impact. Open vehicle windows slightly for ventilation, and never leave a full propane tank inside a hot, closed car. Remove it immediately upon arrival. Limit yourself to carrying no more than four 20-pound cylinders at once or exceeding a total weight of 90 pounds. When handling the tank, wear gloves to safely manage the cold metal. For grills using propane, a Blackstone gas grill offers reliable performance with easy tank access.