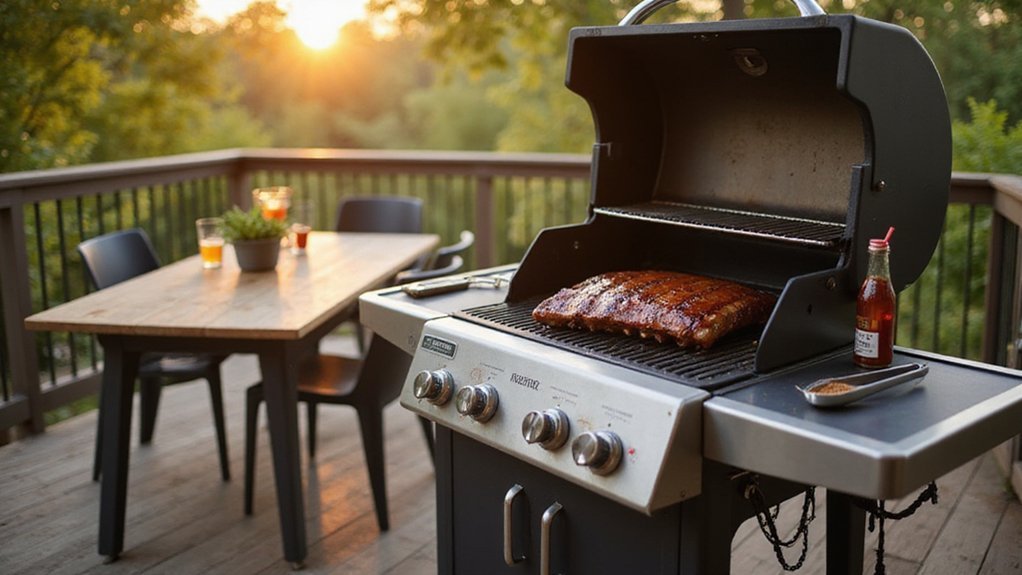
Lighting your gas grill safely can seem tricky, especially if you’re new to it.
Getting the flames going properly and ensuring everything is secure is key to a good cookout.
By following a few simple steps, you’ll be able to ignite your grill confidently and ensure it preheats safely before you start grilling.
The process is straightforward and designed to keep you safe while achieving the perfect heat.
Open the Lid and Turn Knobs to OFF Before Lighting
Opening the lid and turning all control knobs to OFF before lighting your Char-Broil gas grill is essential for safety. Always ensure the lid is fully open to allow proper ventilation. Verify that every knob is set to OFF to prevent accidental gas flow. Keeping the lid wide open throughout the ignition process is crucial—this helps prevent gas buildup from unlit burners. For a full conversion, follow DIY steps that include checking your grill’s regulator and hose compatibility before connecting to a natural gas source. Properly seasoning a pizza steel can prevent rust and ensure a durable non-stick surface, much like maintaining your grill components. Choosing durable outdoor dining chairs can enhance your patio setup while keeping safety and comfort in mind.
Start by turning the gas supply on. Then, follow the exact order: open the lid, make sure all knobs are OFF, then turn the control knob for the burner you wish to ignite to the ON or LIGHT position. If the burner does not ignite within five seconds, turn the knob back to OFF, wait five minutes for the gas to clear, then repeat the process. This extra step prevents the risk of gas explosions caused by accumulated unburned gas. Always follow this sequence carefully to ensure a safe and controlled startup every time.
Check the Propane Connection and Hand-Tighten the Coupling Nut
To check the propane connection, start by removing the protective cap from the cylinder valve. Inspect the rubber seal for any damage, as a compromised seal can lead to leaks. Next, examine the hoses and fittings for cracks, tears, or rodent bite marks, which can also cause leaks or failure. Always inspect the cylinder valve itself for dirt or debris before connecting, as these can prevent a proper seal. You should also confirm the new propane tank is full before beginning, as an empty tank can cause ignition issues.
Align the regulator nipple straight into the cylinder valve to prevent cross-threading. Hand-tighten the coupling nut until it reaches a full stop; do not use tools or apply extra force. Proper hand-tightening ensures a secure connection without damaging the fittings.
After securing the connection, perform a leak check by applying a soap and water solution to the coupling area. Look for bubbles forming, as this indicates a leak. If bubbles appear, close the tank valve immediately, then retighten the coupling or replace any faulty parts. Always conduct this test outdoors, away from any ignition sources, to prevent accidents. Similarly, just as you would remove rust from grates to maintain their integrity, addressing any corrosion on the regulator or fittings promptly can prevent more serious failures down the line.
Press the Igniter and Turn the Burner to HIGH
Press the igniter button and turn the burner knob to HIGH. This step is essential for proper burner alignment during lighting. Hold the igniter button continuously while the burner is on HIGH until you hear a clicking sound and the grill ignites. Do not lean over the grill while pressing the igniter. If you do not hear clicking, check the igniter for maintenance issues, such as replacing the battery or cleaning contacts. If ignition does not occur within a few seconds, turn all controls OFF, wait five minutes to allow gas dissipation, then retry. Never repeatedly click the igniter on a gas-filled grill to avoid potential hazards. If the igniter fails consistently, refer to the troubleshooting guide for additional support.
Use a Long-Stem Match If the Igniter Fails
If the igniter fails, using a long-stem match is a safe alternative to light your Char-Broil gas grill. Start by ensuring all burner control valves are turned off and the lid is open. Open the propane tank valve to allow gas flow. For safety, never lean over the grill when lighting it manually. Grab the grill’s match holder—a curled metal piece on a chain—and place a lit long-stem match inside it. Insert the match through the side match-light hole, positioning the flame near the closest burner. Immediately turn the corresponding burner control knob to high and push it in to ignite. Confirm that the burner lights and stays lit. If it doesn’t ignite within five seconds, turn off the burner, wait five minutes to let any gas dissipate, then repeat the process. Never linger near the opening after attempting to light the grill and never leave gas on without ignition to prevent accidents. Before manual ignition, always clean blockages in burner holes with a toothpick if debris or insect nests are suspected. For consistent heat, preheating the grill for 10 to 15 minutes helps ensure even cooking, similar to the approach used for a pizza stone. Using a pizza stone requires a flat, heat-retaining surface that distributes heat evenly for a crisp crust. For optimal performance, choose a grill with quality like those reviewed in the top Blackstone models.
Light Additional Burners in Sequence
Begin by turning on the first burner and confirming that it ignites quickly and remains lit steadily. Wait until the flame is stable before igniting the next burner in the sequence. Confirm each burner stays lit before proceeding to the following one; this is your sequence confirmation. If the flame doesn’t spread or stay lit, turn that burner off, wait five minutes to allow gases to disperse, then try again. This step-by-step approach ensures control and safety throughout the process. Once all desired burners are lit, adjust the heat levels as needed. Remember, a stable first burner is essential—without it, the entire sequence cannot proceed safely. A pizza stone can be preheated on the lit grill to absorb and radiate heat evenly for a crisp crust. For keeping beverages cold while grilling, a countertop ice maker can consistently produce fresh ice without needing to refill trays.
What If a Burner Doesn’t Light in 5 Seconds?
If a burner doesn’t light within five seconds, you should turn the control knob to OFF immediately and wait five minutes before trying again. This pause allows any unignited gas to dissipate, reducing the risk of a flare-up or explosion. Avoid attempting to relight the burner too quickly, as this can be dangerous. Instead, ensure proper airflow and check for any gas buildup before retrying. If the burner still won’t ignite after several attempts, proceed with troubleshooting your ignition system and gas supply to identify and fix the issue. Unlike the low-permeability of butcher paper, unignited gas in a grill can quickly accumulate in enclosed spaces.
Preheat for 6 Minutes and Verify Stable Flames
After ignition, let the grill preheat for about six minutes with the lid closed. During this time, all burner flames should be steady and stable. This initial six-minute check is your first test of flame stability. If any burner flickers or goes out, turn off the gas, wait five minutes to clear any gas build-up, and then relight.
This early check is not a full preheat; it’s simply to ensure the burners are functioning safely and consistently. Use the preheat indicators to gauge progress: the lid should feel hot to the touch, and you should see an even heat radiating from the grates. Char-Broil recommends a total of 10 to 15 minutes on high heat for optimal preheating, especially in cold or windy conditions. At six minutes, you’re not ready to start cooking—you’re confirming that the grill operates safely before continuing to heat toward your desired temperature. This stable flame verification is critical because direct heat is best for quick browning of thin cuts like chicken fillets. Achieving a consistent high temperature is similar to how a wood-fired oven requires even heat distribution for perfect pizza crust. For precise temperature monitoring during preheating, you might use a tool like an infrared thermometer to check the grates. After confirming stable flames, it is also important to use safe cleaning products on the grates to avoid damaging the cast iron surface.
Avoid These Mistakes That Trigger Flare-Ups
Grease buildup is the main cause of flare-ups when you add food to your grill. To prevent this, you need to regularly clean the grease tray and internal components where grease can accumulate. Be sure to trim excess fat from high-fat foods, as dripping fat ignites flames. Using high heat unnecessarily can also exacerbate flare-ups, so keep the grill at a moderate temperature when cooking fatty items. For the most tender results, use a low and slow approach by keeping the grill at around 225°F to 250°F for several hours. For stored ingredients like wood pellets, moisture protection is critical to prevent combustion issues, so always keep pellets in a sealed, dry container. Positioning a water pan directly above the burner deflects radiant heat, which helps stabilize temperatures and adds humidity for better smoke absorption.
For safety, follow proper lighting procedures: always place the lit match or lighter first before turning on the gas. If the burner doesn’t ignite within five seconds, turn off the gas and wait at least five minutes before trying again. Repeatedly turning the gas on without ignition can cause gas buildup, which is dangerous. Check for a low propane tank or a kinked hose, as both can affect flow. Dead batteries in the igniter or clogged burner ports are common causes of failure, so regularly clean electrode terminals and clear debris to keep flames steady and safe. In a pellet smoker, water pan placement near the drip tray catches falling grease before it hits the hot firepot, reducing flare-up risks during long cooks.